I moved from rTorrent/ruTorrent to qBittorrent because of the unsolvable issue with the first one. I feel I did the right thing (Update from 2023: Yes, it is the right way!). Comparing the two, ruTorrent is complicated, especially because of the many plugins.
qBittorrent has a lot of features built in, so there is no need to install any additional plugins. It has great features like
- Email notification when the torrent is finished - Seeding limits (pause/delete torrent when limit is reached) - No Apache/Nginx installation and configuration required - Built-in brute force protection (no fail2ban installation required)
The installation procedure is much shorter and easier than for rTorrent/ruTorrent.
Let's get started!
Update package list sudo apt update
Install qbittorrent-nox, this is the command line version of qBittorrent with a built-in WebUI feature sudo apt install qbittorrent-nox -y
Add qbittorrent user to the system, because we will not run this service as a root sudo useradd -r -m qbittorrent sudo usermod -a -G qbittorrent pi
Create a service file sudo nano /etc/systemd/system/qbittorrent.service
Start the service and enable it for auto-start sudo systemctl start qbittorrent ; sudo systemctl enable qbittorrent
The WebUI works from this point. Open it in your browser <IPADDRESS>:8080
The Web UI access is secured and the default account user name is “admin” with “adminadmin” as a password.
Change the username and password in the settings
That's all.
Optional settings
Increase download speed
Tools --> Options --> Connection: Enabled Protocol - set to TCP (only TCP) I tested it with 3 different settings, and the download speed result was: Only UDP: 3-4 MB/s Only TCP: 60-65 MB/s UDP&TCP: 40-42 MB/s
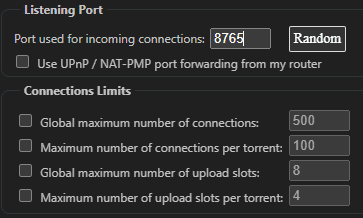
Uncheck all boxes under 'Listening Port' and 'Connections Limits', like this:
Dark theme
Copy files from GitHub git clone https://github.com/repslet/nightwalker.git /home/qbittorrent/
Set correct permission to this folder chown -R qbittorrent:qbittorrent /home/qbittorrent/nightwalker
Edit the configuration file, and set the path of the theme nano /home/qbittorrent/.config/qBittorrent/qBittorrent.conf WebUI\RootFolder=/home/qbittorrent/nightwalker
Restart the service systemctl restart qbittorrent
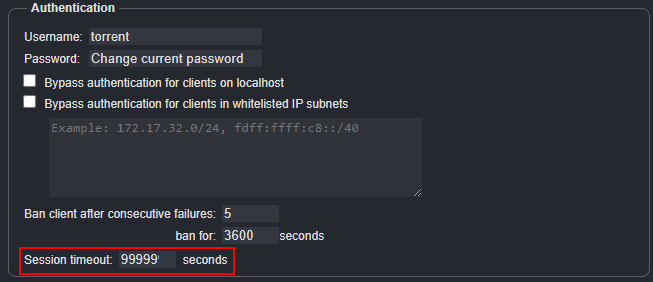
Increase timeout value
By default the timeout value is set to 1 hour. Increase it to 9999999 to avoid unexpected logout.
Scroll down and press "Save" button.
Secure qBittorrent WebUI
Change the port number in the service file to anything between 1000 and 65535
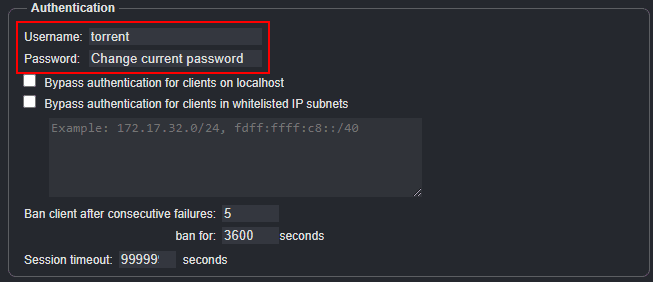
Change the username
Use a long password instead of a complicated one, like ThisIsMyStrongPasswordForQbittorrent instead of myPassword1
You saved the password in the browser anyway, why not use a long one? :)
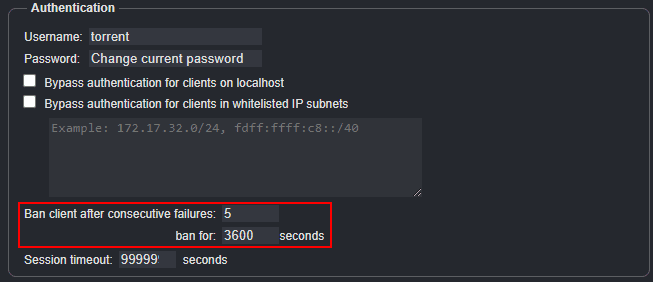
Set less number for "Ban client after consecutive failures" and higher one for "ban for x seconds"
Leave a comment below if you have any questions or comments. If you liked this article, please share it with your friends.
If you found this article useful and would like to show your appreciation, please consider making a small donation via PayPal. Your support will allow me to continue creating valuable content and make my blog even better. Thank you for your contribution!


Comments